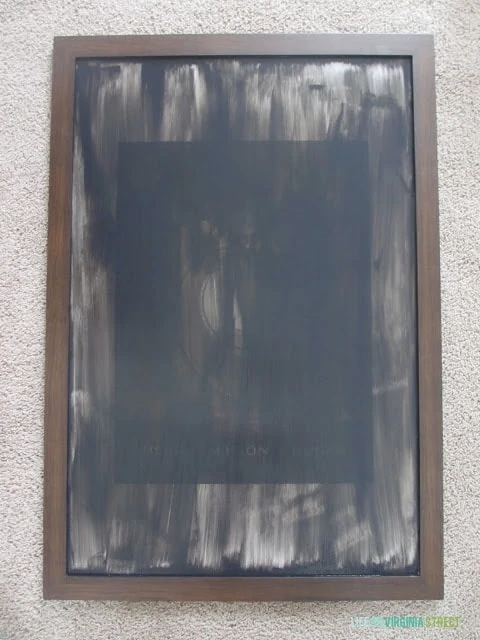
I mentioned here that I made a second DIY Christmas chalkboard. This one varied slightly in process simply because I didn’t break the glass this time around 😉 I’ll lightly touch on the details here and how it varied from the first project, but for the full tutorial please check out the post from Monday.

Supplies needed (they are linked for your shopping convenience):
- Poster Frame with Glass
- Chalkboard Paint
- Chalk or chalk markers (my favorite)
- Boxwood wreath or DIY felt ruffle wreath
- Plaid ribbon
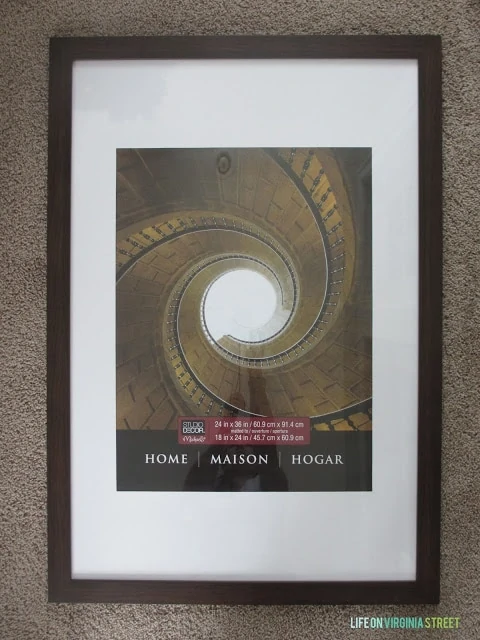
Now, for the tutorial. I started with this poster-sized frame I bought at Michael’s a few years back.
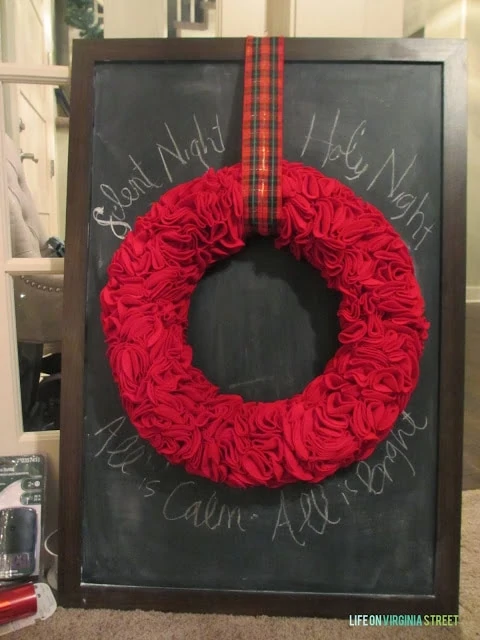
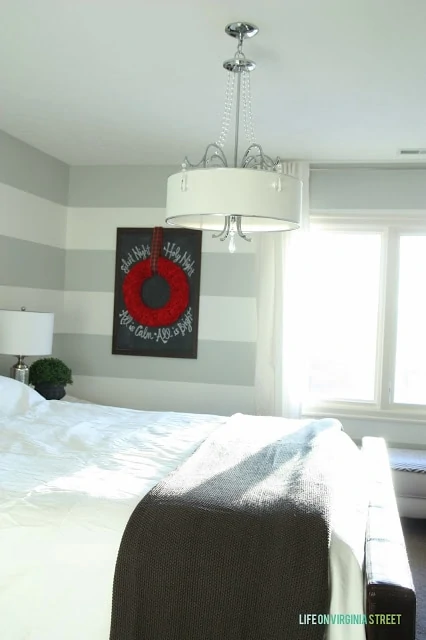
I wanted to change up the art style slightly this time around. I simply hung my DIY red felt ruffle wreath with ribbon and a tack and then sketch some words out around the wreath. You can see it looked pretty rough but it was a good base to fill in the chalk more heavily.
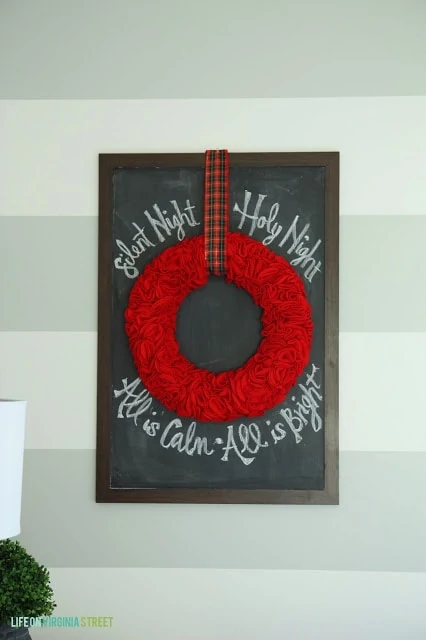
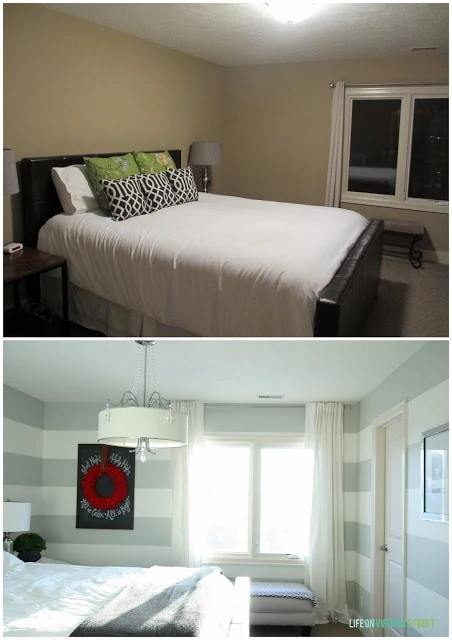
My in-laws are staying with us this weekend {which means we will be completing some more exciting projects}. Since the king guest bedroom hadn’t been touched since I finished the stripes in July, I thought it would be fun to add some Christmas cheer to the room. I love how it looks against the striped walls.
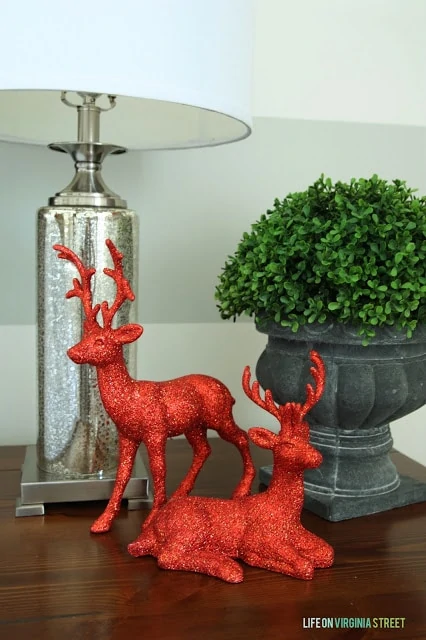
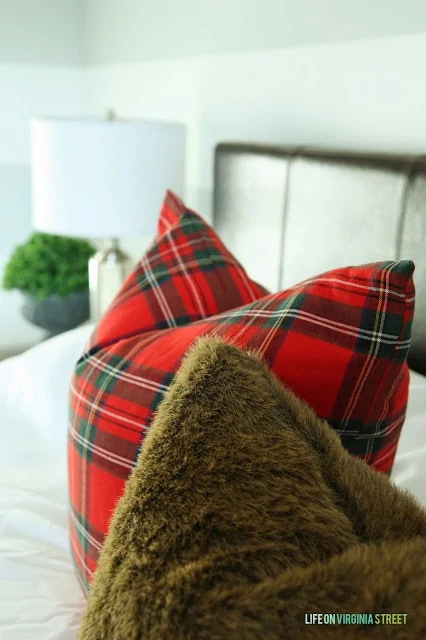
For additional Christmas decor, I added the plaid and faux fur pillows I made and some red glitter reindeer I picked up at the fabric store for $5 each last weekend.
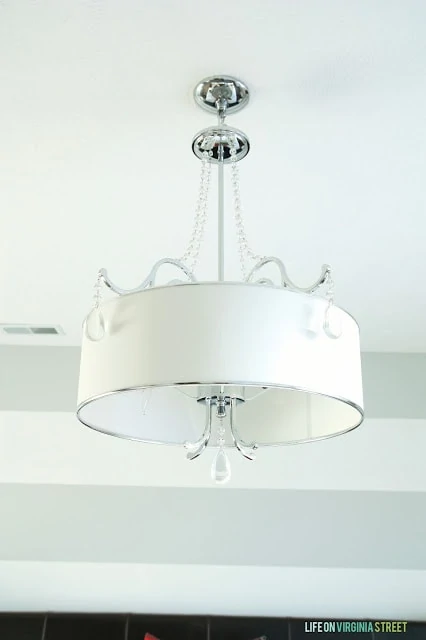
Once I started adding stuff to the room, it prompted me to hang the $39 light from Costco we bought earlier in the year. The light hangs rather low but I think it works well over the bed and helps to add a little drama to the room. No more boob light = a win for all of mankind.
I have a long ways to go on this room, but it is a definite improvement from where we started! Bottom line: I know I’m not sticking with my original fabric scheme. I finished the euro shams, laid out the Betwixt on the pillow I was going to use and let it sit the last several months. And hated it. I’ll be sharing my new plans next week. But for now, the Christmas room is fun!
I love that this second chalkboard art helped motivate me to move forward with this room. I already have a new design board planned {you can see the old one here} and I have even more Christmas fun planned for this room as part of my second Christmas Tour of Homes that starts on Monday {with a link-up party on Friday}!
If you would like to follow along on more of my home decor, DIY, lifestyle, travel and other posts, I’d love to have you follow me on any of the following:
Pinterest / Instagram / Facebook / Twitter / Bloglovin’ / Google
disclosure: affiliate links used
Hope this means you’ll be selling your original fabrics! I loved them! The rooms looks beautiful for Christmas and I can’t wait to see your new plans.
So pretty- I love your wreath on it as well. And how you drew in the Christmas feel so subtly with your red, plaid, and fur and chalkboard. Classic and stunning Sarah!
That whole room is SO beautiful! It’s bright and happy, and still feels perfectly festive and Christmassy! LOVE!
Kelly @ View Along the Way