This is a detailed look at our backsplash installation.
We installed our white tile backsplash back in September {with my mom and dad’s help} and I never provided the details, I only mentioned it briefly here.
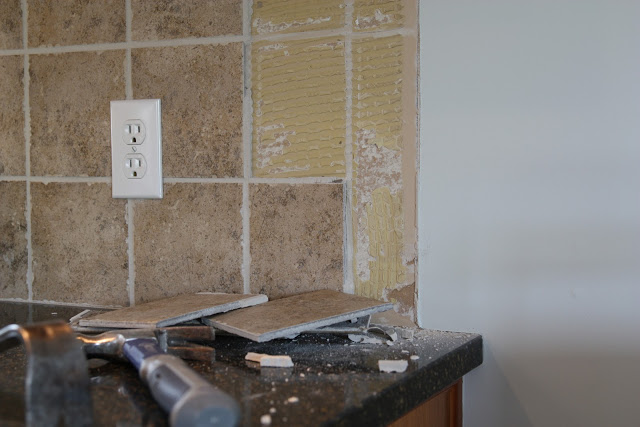
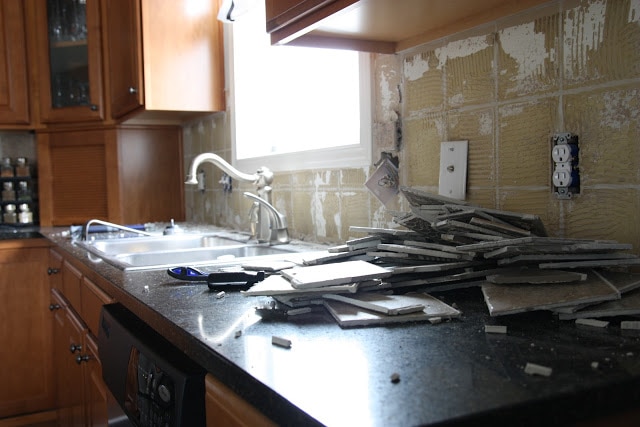
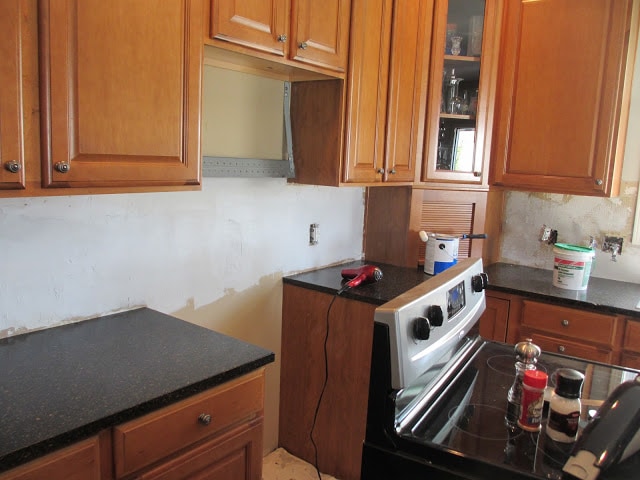
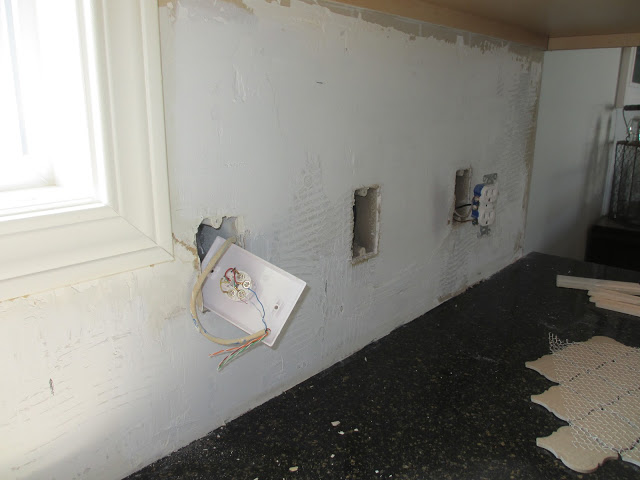
I did some of the prep work ahead of time, including ripping off the existing ceramic backsplash. That helped, but unfortunately it left a lot of glue and also ripped off a lot of drywall so we still had prep work to do once my parents arrived. We had to ensure the remaining wall was as smooth as possible which required chiseling off the glue and in some areas, re-mudding the drywall. Once it was all repaired and fully dried, we were good to go.
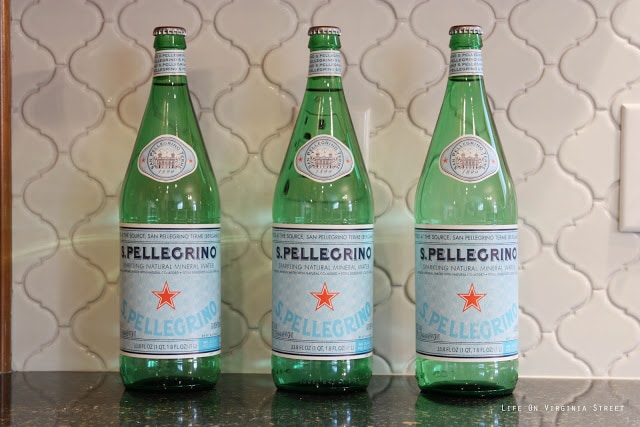
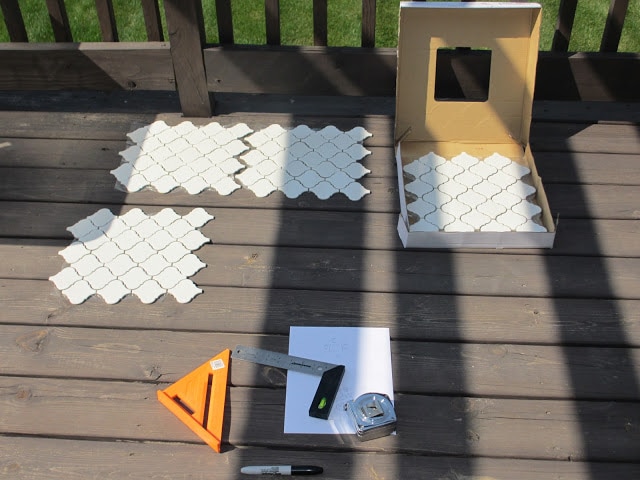
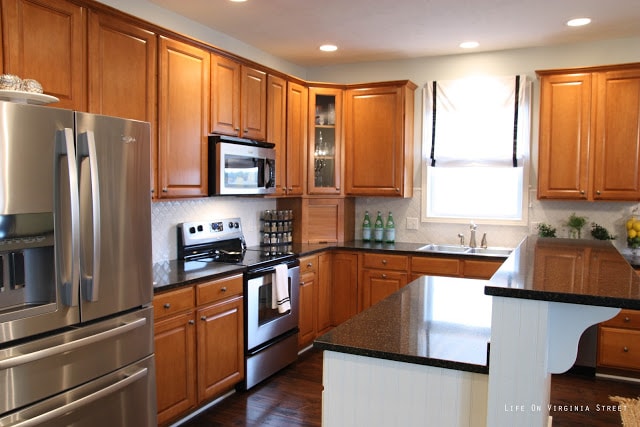
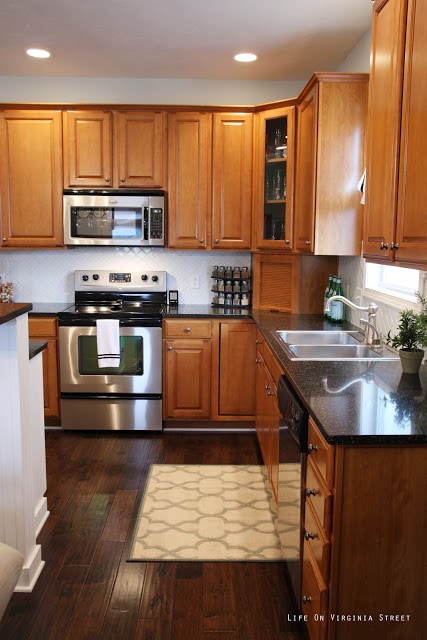
We ordered the white trellis/Moroccan tile from Overstock {tile found here – but mine was only about $75 a box with a coupon and free shipping}. The price was hard to beat but of course I needed 2.1 boxes so I had to order three. And, it’s a good thing we did.
In theory, this white tile is perfect because it is pre-spaced on the net backing. However, we had rented a wet tile saw along with the other supplies we purchased at Home Depot. Once the backing on this tile got wet, it dissolved/disintegrated. Let’s just say I had at least one meltdown during this project. Just a little stressful knowing we were under a time crunch {more family coming in town, visitors that evening, and a wedding that weekend}. If I hadn’t been upset, I would have taken a photo because it became almost comical at times. We lost a few of the 12.5″x12.5″ sheets because they literally fell apart. Good thing we had extras. At one point, we even contemplated driving to The Tile Shop and going with a subway tile, one of my other finalists.
Ultimately, once we discovered the problem with the backing not being waterproof, the guys started cutting the Moroccan tile without the water and then we manually spaced everything with spacers to ensure the best grout lines.

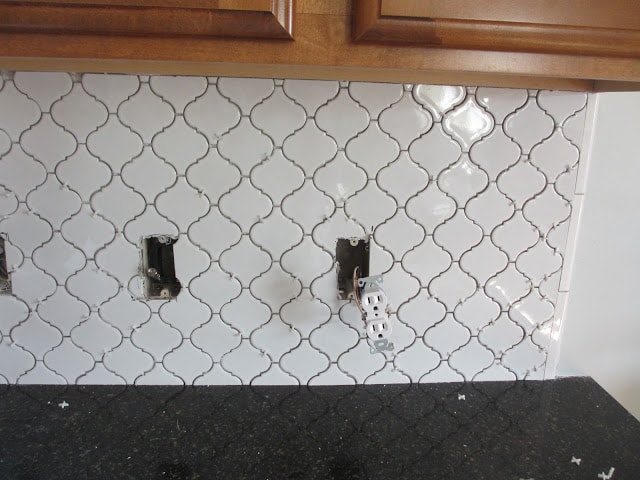
We got the grout from The Tile Shop {unsanded in Whisper Gray}. I only wanted a slightly darker grout than the tile and I feel like this was the perfect selection for the look I was going for.
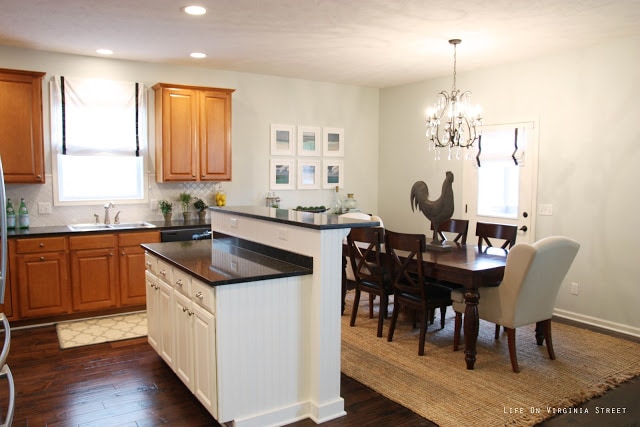
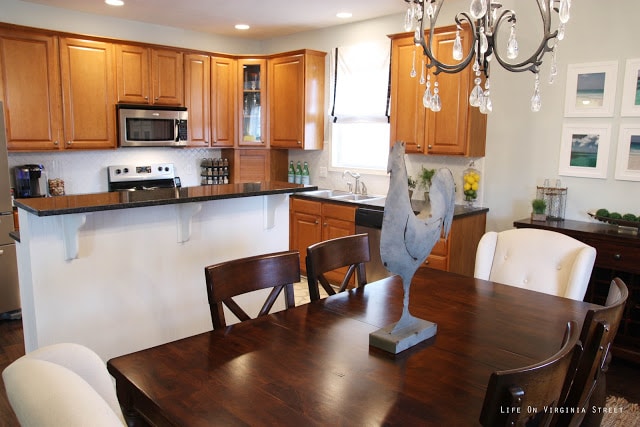
Here are some ‘after’ shots of the tile and kitchen. So much brighter! And whenever I look at it from far away, I feel like it has an almost quilted texture – I love the glossiness and pattern it adds to a previously monotone kitchen! It also really helped to tie in the white island and other light accents we had throughout the kitchen/dining/living room.
You can get a similar look for this entire space by clicking any of the items below:

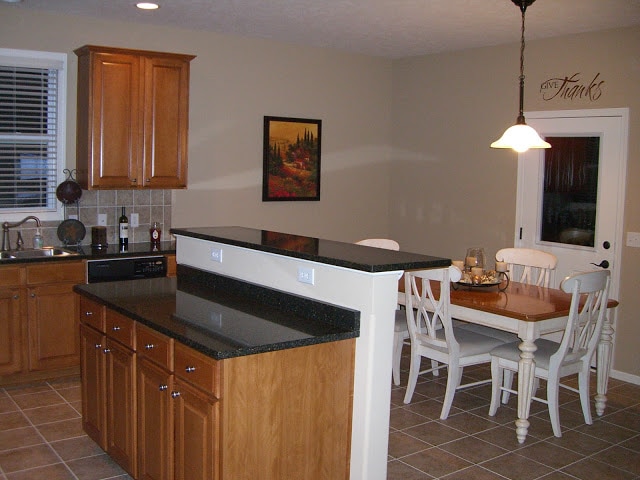
And, because I love a good before and after, here is the kitchen/dining after we moved in back in 2007 for comparison purposes. Welcome to beige world:
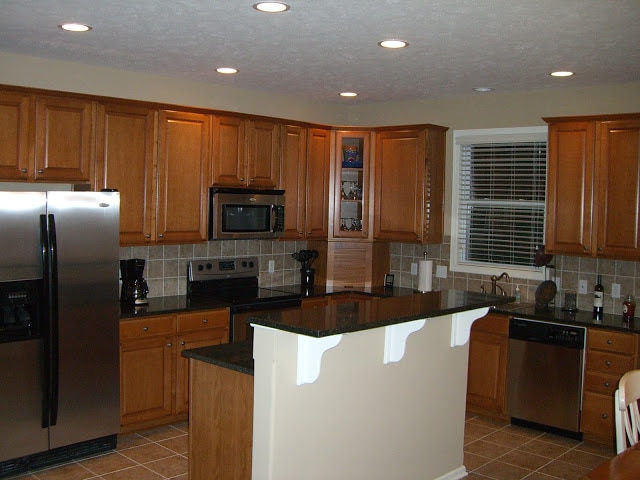
As stressful as the backsplash installation was, in the end, it ended up looking amazing and I really love the overall look! And thanks again to my dad and mom for all their tile hanging expertise!
If you would like to follow along on more of my home decor, DIY, lifestyle, travel and other posts, I’d love to have you follow me on any of the following:
Pinterest / Instagram / Facebook / Twitter / Bloglovin’ / Google
disclosure: some affiliate links used
Love the tile!! I’m a huge fan of Moroccan patterns. You did a beautiful job installing it – even with the bumps along the way – and it turned out so well.
– Chaney (Came over from Emily A. Clark’s link up!)
It is gorgeous!! And a great tutorial! We have a kitchen makeover in our plans and the moroccan tile is on our short list!
Could you share the color and brand of flooring you used?